I just got back from a 4 day workshop taught by Paul Jackson at Ladyslipper
Studios in Sidney on Vancouver Island. I couldn't wait to set up a
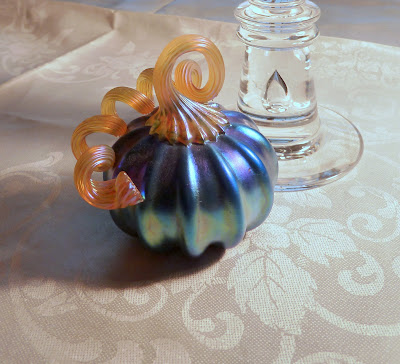
small still life and try out the techniques I learned. Above is my reference
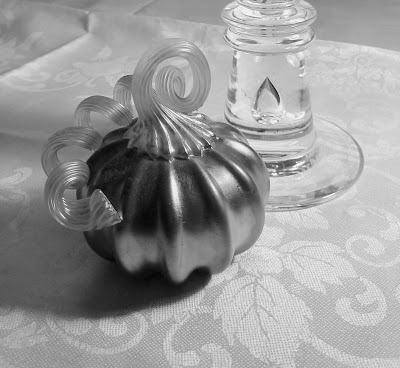
photo and below is the photo in black and white to help me judge values.
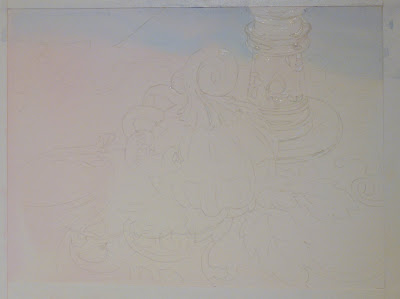
After masking out the whitest sparkles I laid in the first very light wash.
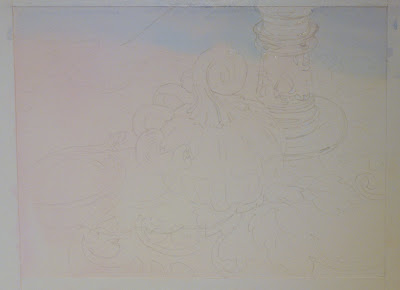
Then I masked out the leaves and tendrils woven into the damask cloth.
I decided to tackle the main colors of the stem next so I could mask it out while
I painted the body of the glass pumpkin. I laid in the first wash of the cast shadow of the pumpkin.
I painted the body of the glass pumpkin. I laid in the first wash of the cast shadow of the pumpkin.
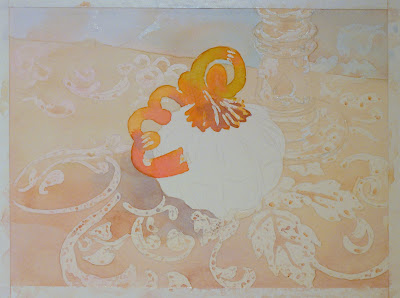
After I masked out portions of the stem that were touching the pumpkin, I made
the first pass of the blues, violet, yellow, and green in the pumpkin. I am using a watercolor paper that I am not comfortable with and feel I would have had a better, looser effect with Arches 140# paper. I made a second pass at the cast shadow of the pumpkin and laid in some of the blue patches in the candlestick.
At this point I removed all the masking and began to add the dark details
to the candlestick, pumpkin stem, and pumpkin.
I washed over the entire fabric area to soften the fabric details so they would recede more.
Finally I peeled off the tape and signed my name, the 5" x 7" painting took about 6 hours start to finish and I created it especially for our upcoming Sequim Arts Small Works Show which opens at the
Museum and Art Center beginning on December 5th (I think).
I hope you get a chance to come to the show!!


No comments:
Post a Comment